

How to Replace the Sisal Rope on a Cat Scratching Post: A Step-by-Step Guide
If your cat’s scratching post is shredded, unraveling, and suddenly getting ignored, you don’t necessarily have to toss the whole cat tree into the trash. As long as the base and structural core are solid, you can easily re-wrap the post in a single afternoon. Just keep in mind that the adhesive needs about 24 hours to cure before your cat can safely sink their claws back in.
Quick Summary:
- Measure and calculate: Determine how much rope you need using the formula: post height ÷ rope diameter × circumference.
- Prep the post: Strip away the damaged rope and inspect the structural core underneath.
- Anchor the base: Fasten the new rope securely at the bottom and wrap it tightly upward, packing the coils together as you go.
- Secure the top: Fasten and conceal the upper end of the rope, then allow the adhesive to dry fully.
- Reintroduce gently: Help your cat reclaim their post using familiar scents and positive reinforcement—never force them.
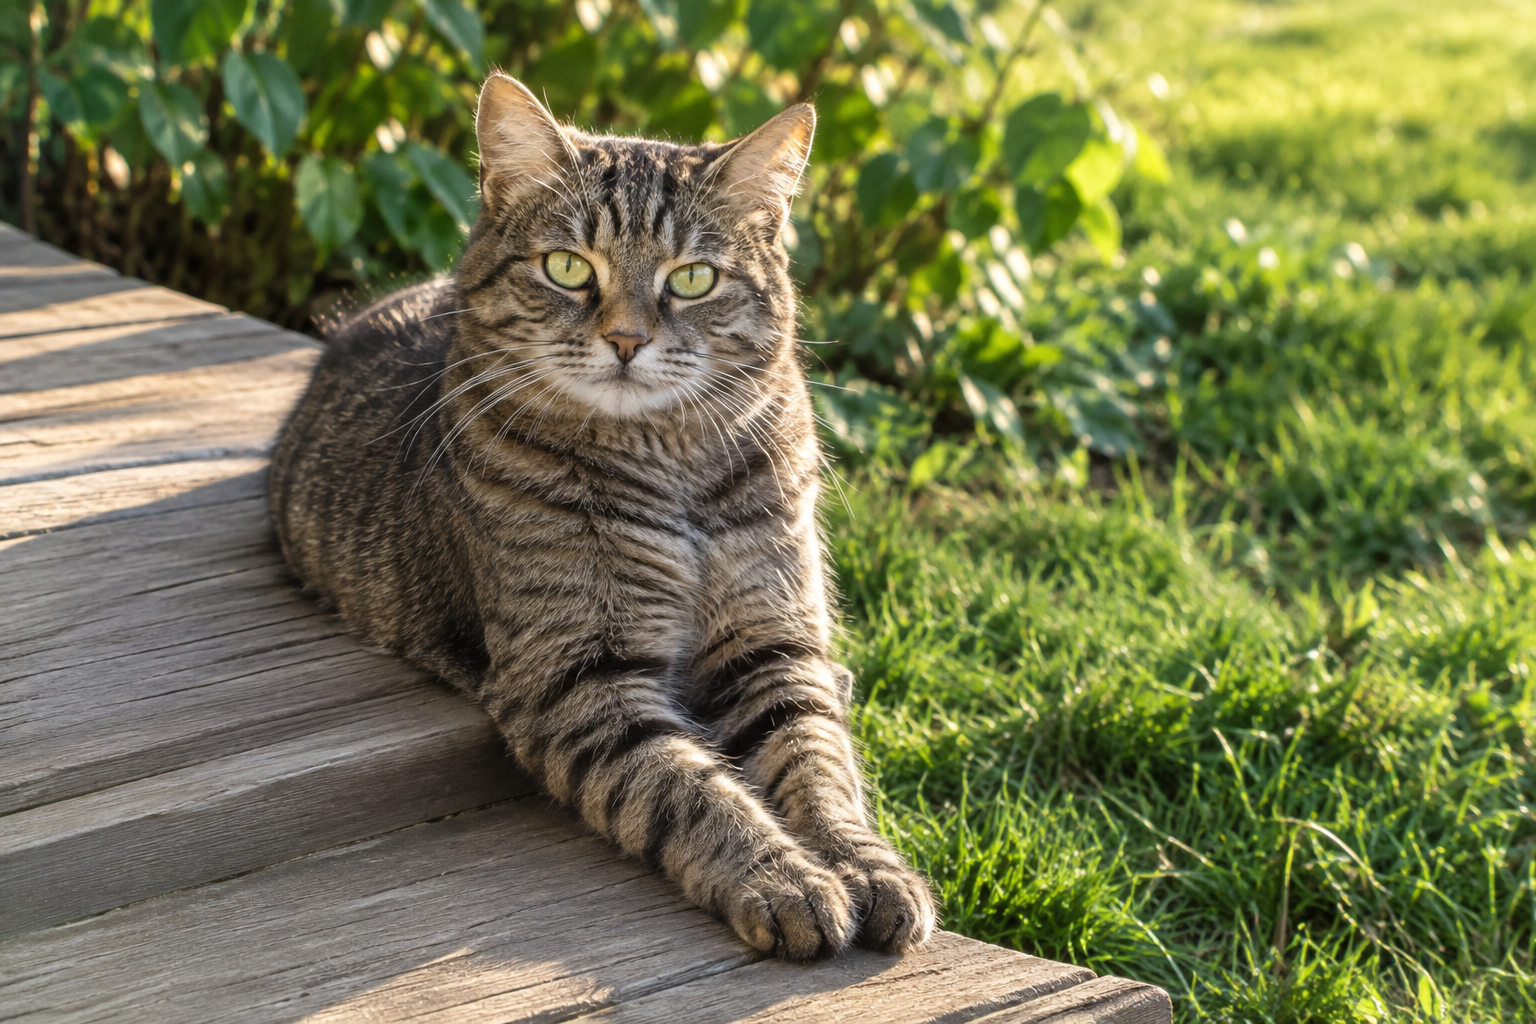
Repairing vs. Replacing: When Is It Time for New Rope?
A frayed scratching post might look untidy to you, but your cat probably disagrees. According to the Cornell Feline Health Center, you shouldn’t discard a worn scratching post purely for aesthetic reasons; cats naturally gravitate toward surfaces that already carry their scent and claw marks.
However, it is time to re-wrap the post if:
- The sisal has worn away completely, leaving bare cardboard or wood exposed;
- The fibers have smoothed out to the point where claws can no longer catch traction;
- The rope has come undone into loose loops that pose an entanglement or choking hazard.
A DIY re-wrap only makes sense if the post itself is still structurally sound. If the base has cracked, the core tube has collapsed, or the post wobbles even after you’ve tightened the hardware, it’s safer to invest in a new cat tree. A wobbly or unstable post can easily topple, frightening your cat and driving them straight to your sofa or carpets instead.
Tip: If the wear is localized—such as fraying only on the upper third of the post—you don’t have to strip the whole thing. You can cut away just the damaged section, secure the remaining intact rope, and splice in a fresh length right where you left off.
Tools and Materials
- Sisal rope: Most scratching posts use rope between 6 mm and 10 mm thick, with 8 mm (approx. 5/16″) being the industry standard. Always opt for natural, unoiled sisal rope free from chemical treatments or petroleum odors.
- Tape measure: A flexible sewing tape works best, or you can use a length of string and a standard tape measure.
- Cutting tools & safety gear: Heavy-duty utility knife or shears, plus thick work gloves (raw sisal will quickly cause rope burn or splinters).
- Prep tools: Pliers for pulling out old staples, plus a putty knife or scraper to remove dried glue.
- Fasteners: Pet-safe adhesive and an optional staple gun (see our comparison below).
- Hammer and scrap wood: Handy for tapping the coils flush against one another as you wrap.
How Much Rope Do You Need?
To avoid running short mid-project, use this straightforward formula: post height ÷ rope thickness × post circumference.
Be sure to use consistent units (such as centimeters or millimeters throughout). Measure the post’s circumference after stripping the old rope, as bare cores are narrower than wrapped ones. If you don’t have a flexible tape measure, wrap a piece of string around the cylinder, mark where it overlaps, and measure that length against a ruler.
Example calculation:
For a post that is 80 cm tall with a diameter of 8 cm (giving a circumference of roughly 25 cm):
- Using 8 mm rope: 800 mm ÷ 8 mm = 100 coils. Total rope needed: 100 × 25 cm = 25 meters.
- Using 6 mm rope: Approximately 33 meters.
- Using 10 mm rope: Approximately 20 meters.
Never buy the exact calculated amount. Natural rope stretches and settles unpredictably, and anchoring both ends takes up extra length. Always purchase roughly 10% to 15% more than your estimate. For a 25-meter requirement, buying 28 to 30 meters ensures you won’t fall short a few inches from the top.
Step-by-Step Rope Replacement
1. Strip the Old Rope
Slice through the old sisal near the top and unwind it completely. If it was glued down, pull firmly—wearing sturdy work gloves to protect your hands. Use pliers to remove every old staple, then scrape off residual glue until the core is smooth and clean.
2. Inspect the Core
Give the core a thorough check. If it’s made from cardboard tubing, press firmly on the sides; if the tube buckles or feels soft, the post has reached the end of its lifespan. For solid wood posts, inspect for cracks and ensure the threaded metal inserts at the ends are secure.
Note: When wrapping cardboard cores, avoid applying excessive brute-force tension that could crush the cylinder. Instead, maintain steady, moderate tension and let the adhesive do the heavy lifting.
3. Anchor the Rope at the Base
Start at the bottom of the post. Apply a generous layer of adhesive, seat the rope end into the glue, and press down firmly. For extra security, fold the first inch of rope back onto itself and anchor it with a few heavy-duty staples. Drive the staples completely flush or slightly recessed beneath the sisal fibers so your cat cannot snag a claw on exposed metal.
4. Wrap Tightly Upward
Wind the rope around the post in a tight, upward spiral, making sure there are no gaps between coils. Gaps invite claws to wedge underneath, which quickly loosens the wrap.
If you are using glue, apply it in manageable 15–20 cm sections as you work rather than coating the entire cylinder at once. Every 6 to 8 turns, place a scrap block of wood over the coils and tap it downward with a hammer to compact the rows firmly together.
5. Fasten the Top
Once you reach the top of the post, leave a few extra centimeters before cutting the rope. Apply adhesive generously, press the end down, and drive in a flush staple if necessary. Tuck the frayed cut end neatly underneath the preceding turn so it cannot be pried loose by curious paws. Give the rope a firm pull to verify that the end is rock-solid.
6. Allow the Adhesive to Cure
According to pet-care authorities like Hepper, standard wood glue typically needs 24 hours to cure before a scratching post can handle active clawing, with some formulas requiring up to 48 hours for a full-strength bond. Hot glue sets in minutes, but you should still let it cool completely until the joint feels rigid. Keep your workspace well-ventilated and prevent pets from inspecting the post until everything is fully dry and odor-free.
Glue vs. Staples: Which Fastening Method Is Best?
Different DIYers favor different techniques, but each approach comes with trade-offs:
| Fastening Method | Pros | Cons |
|---|---|---|
| Water-based wood glue (e.g., PVA) | Exceptional bond strength; non-toxic once cured | Requires 24–48 hours of curing time |
| Hot glue | Bonds within minutes; great for securing ends quickly | Can soften in high ambient heat; hot nozzle poses a burn hazard during application |
| Staples only | Fast, tool-only installation | Rope can sag or pull away between staple points over time |
The most dependable solution is a hybrid approach: run a steady bead of wood glue along the core to bond the coils, and use a few heavy-duty staples solely to lock the bottom and top ends in place.
Avoid solvent-heavy contact cements or construction adhesives that release harsh VOCs, as cats spend substantial time sniffing, rubbing against, and occasionally chewing their scratching posts. If you use hot glue, keep the gun and trailing cords safely out of your pet’s reach.
Helping Your Cat Scent and Accept the Refurbished Post
Cats don’t avoid a freshly wrapped post because it looks new; they avoid it because it smells unfamiliar. Scratching isn’t just claw maintenance—it also deposits territorial pheromones from the interdigital glands between their paw pads.
Fresh sisal lacks this familiar identity, but you can easily speed up acceptance:
- Keep it in the same spot: Don’t move the post while refurbishing it. Cats are creatures of habit and expect their territory markers to stay put.
- Add an incentive: Rub dried catnip or silvervine deep into the fibers, or hang a favorite wand toy from the top (remember that kittens under five months usually don’t react to catnip).
- Transfer familiar scents: Gently rub a clean microfiber cloth along your cat’s cheeks and paws, then buff the cloth over the new rope to deposit their natural facial and paw pheromones.
- Use positive reinforcement: Praise your cat and offer a high-value treat whenever they sniff or scratch the new surface. Never grab their paws and force them to scrape the rope, as this triggers stress and creates a negative association with the post.
For additional advice, check out our in-depth guide on how to train a cat to use a scratching post.
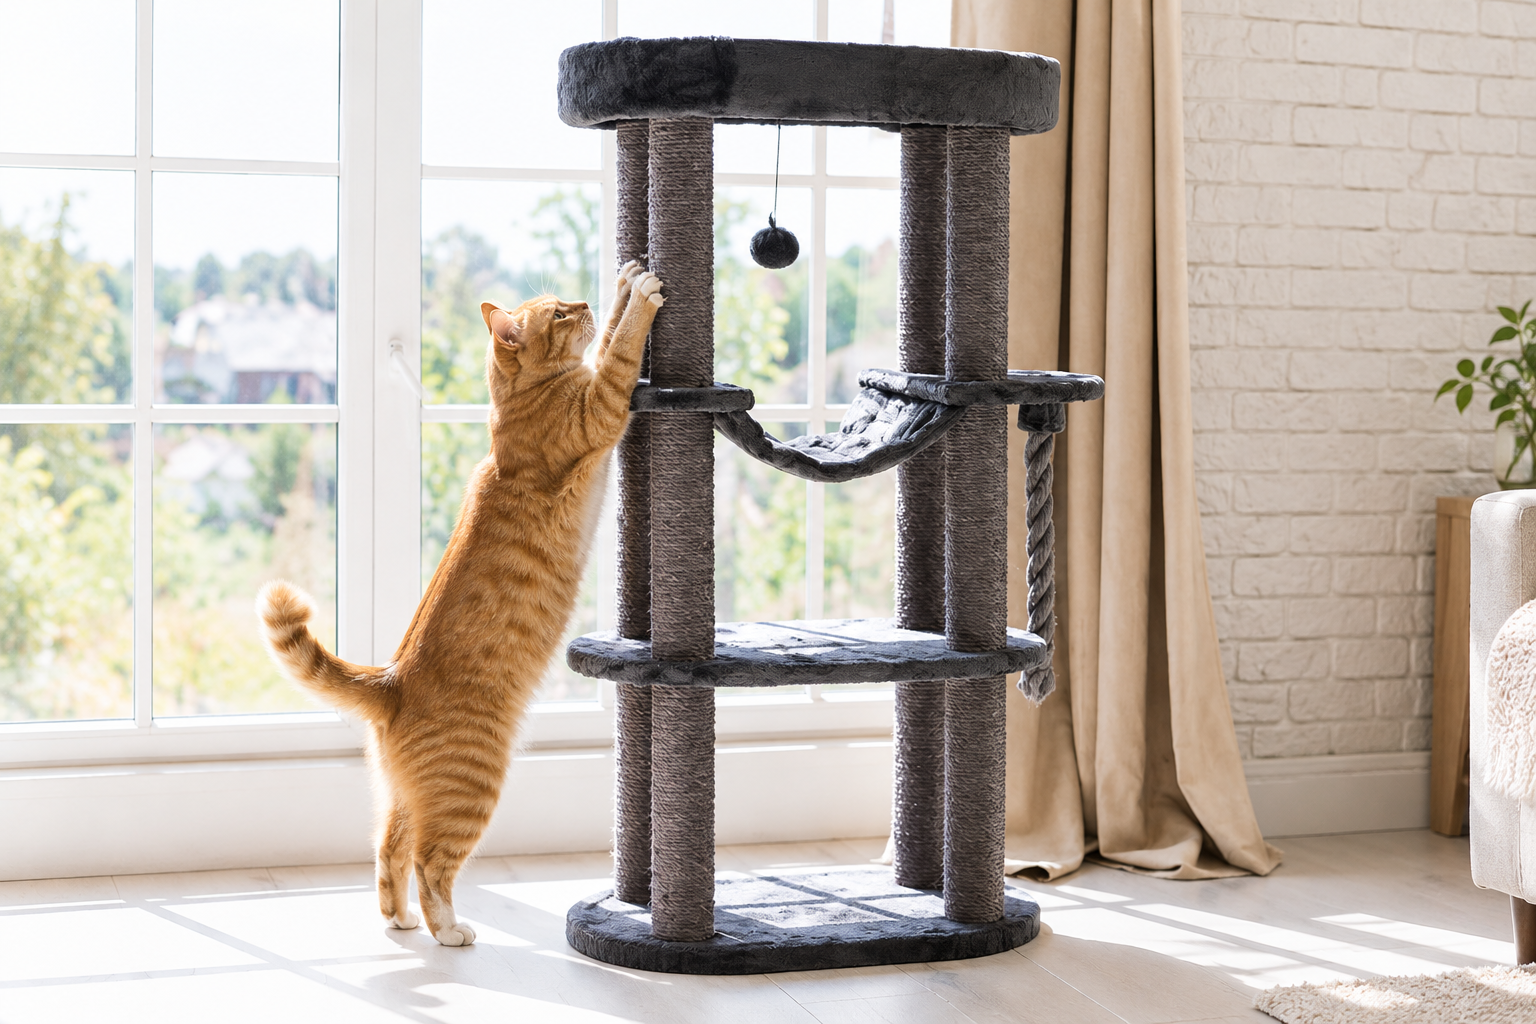
When Should You Replace the Whole Cat Tree?
Re-roping is an excellent way to save money and reduce waste, but it cannot fix structural failure. You should retire the post and invest in a new cat tree if:
- The base is warped or cracked, or the post still rocks back and forth after tightening the hardware;
- The post is too short for your adult cat. A study published in the Journal of Feline Medicine and Surgery (Wilson et al., 2016) demonstrated that to satisfy a cat’s instinctual stretching needs and deter furniture scratching, vertical posts should be at least 90 cm (3 feet) tall;
- Your kitten has outgrown their first scratcher, or multiple cats are competing over limited scratching space.
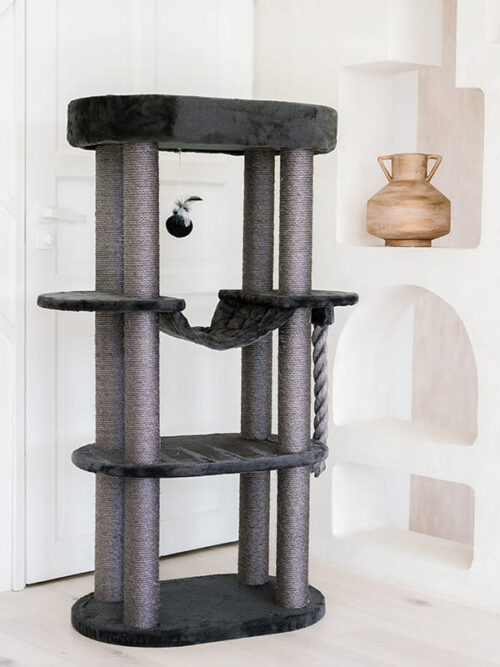
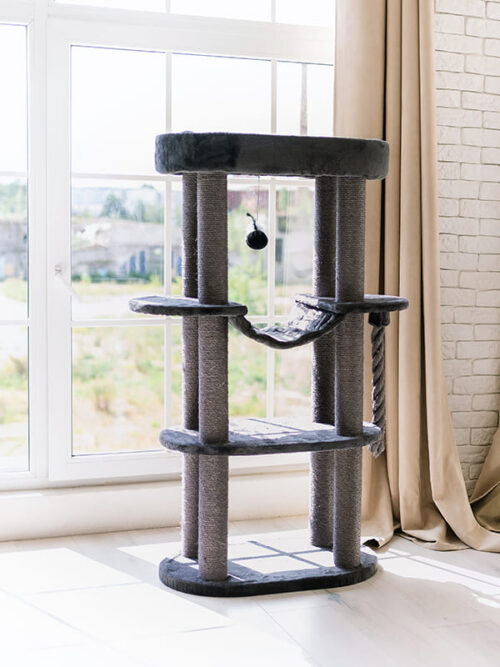
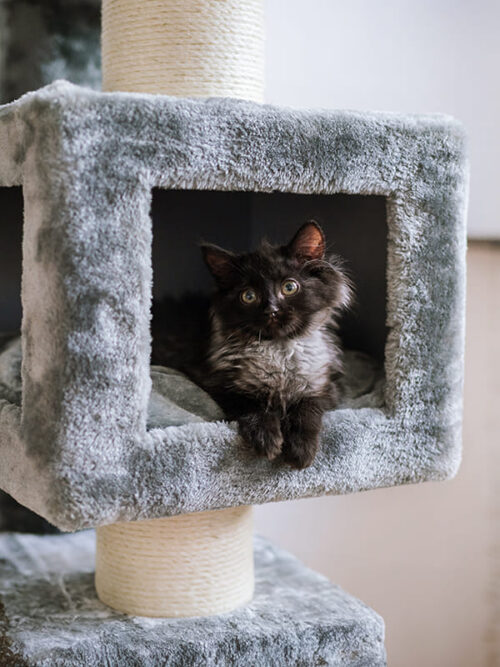
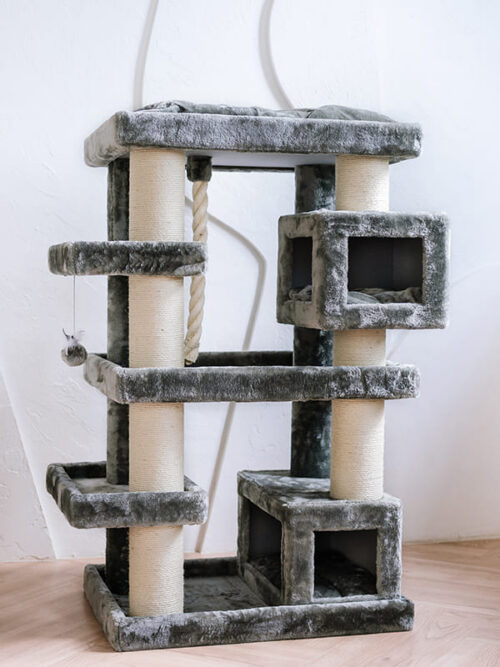
If it’s time for an upgrade, our buying guide on how to choose a cat scratching post walks you through the key features to look for. If you have a larger feline companion, take a look at our collection of large cat trees. For instance, the MiuMjau 7061 and 7062 cat trees stand at 130 cm and 135 cm tall, providing plenty of room for an uninterrupted full-body stretch:
Before purchasing, measure your cat’s reach while they are fully stretched out against a wall or door frame. Then, browse our full range of cat scratching posts to find a sturdy model tailored to their size and scratching habits.