

How to Trim Cat Nails: A Step-by-Step Guide
Does your cat bolt the moment the nail clippers come out? Trimming claws doesn’t have to be a battle. Done properly, it is quick, painless, and low-stress—as long as you take off just the sharp tips and steer well clear of the pink quick inside.
Below, you will find practical step-by-step instructions, proven desensitization techniques for finicky felines, and first-aid advice in case you cut a little too close.
Key takeaways:
- Snip only the clear tip of the claw, keeping a safe distance from the pink quick.
- For dark claws, make tiny, conservative cuts and stop where the nail starts to curve downward.
- Most indoor cats only need a trim every two to four weeks.
- Reward your cat after every paw, and never start clipping until they are fully relaxed with paw handling.
- Keep styptic powder, cornstarch, or flour within arm’s reach in case a nail bleeds.

Do You Really Need to Trim Your Cat’s Nails?
It depends on your cat’s lifestyle and age. According to the feline welfare charity International Cat Care, most healthy cats maintain their claws at an appropriate length through routine scratching, so regular clipping isn’t always mandatory. Trimming becomes necessary, however, when a cat stops scratching enough to wear their claws down naturally, or when sharp tips start shredding your furniture and scratching skin.
Recommended trimming schedules typically break down as follows:
- Indoor adult cats: VCA Animal Hospitals recommends a trim every two to four weeks, while the ASPCA suggests checking claws every 10 to 14 days.
- Senior or sedentary cats: Inspect their paws frequently. Older cats often stop wearing down their claws, which can lead to painful overgrowth (detailed below).
- Outdoor kittens and cats: VCA advises leaving outdoor cats’ claws intact, as they rely on sharp claws for climbing, balance, and self-defense.
A telltale sign that your cat is due for a manicure is an audible clicking sound when they walk across hard floors. If you press a paw pad and see that the nail curves sharply back toward the pad, it’s definitely time for a trim.
What You’ll Need
- Cat nail clippers: Both scissor-style and guillotine-style trimmers are suitable, according to VCA. However, many vets and professional groomers favor scissor-style clippers because they provide a clear view of the claw throughout the cut. Avoid standard human nail clippers; they tend to crush and splinter the feline claw rather than slicing through cleanly.
- High-value treats: Squeeze treats or lickable pastes work wonders—they keep your cat distracted and happily occupied while you work.
- Styptic powder: If you do not have styptic powder in your pet first-aid kit, plain cornstarch or flour will do in a pinch.
- Good lighting and a quiet, comfortable spot where your cat feels safe.


How to Trim Cat Nails: Step-by-Step
Choose a moment when your cat is calm and drowsy, such as right after a meal or a long nap. The ASPCA suggests setting up in a quiet room away from windows to prevent birds or outdoor activity from breaking their concentration. You never have to tackle all 18 claws in a single sitting—clipping just one or two claws at a time is completely fine, especially while your cat is still learning the routine.
- Gently take a paw in your hand and massage it for a few seconds. If your cat pulls away, don’t grip tighter—simply release the paw and try again later.
- Place gentle pressure between your thumb and index finger on the paw pad until the claw extends outward.
- Identify the pink tissue inside the base of the claw. This is the quick—a sensitive bundle of blood vessels and nerves that must never be cut.
- Position the clippers so the blades slice from top to bottom rather than side-to-side. According to VCA, this orientation prevents the claw from splintering.
- Snip off just the razor-sharp, hook-like tip. The Washington State University Veterinary Teaching Hospital recommends maintaining at least a 2 mm margin of safety from the quick.
- Release the paw immediately and offer a high-value treat to build a positive association with the experience.
Dark Claws
If your cat has dark claws and the quick isn’t visible, never guess where it ends. VCA recommends cutting right at the point where the nail begins its downward curve, taking off paper-thin slivers rather than making one deep cut. When in doubt, leave the nail a little longer and check it again a week later.
A Common Mistake
Beginners often second-guess themselves—either hesitating and taking off too little out of anxiety, or rushing and trying to remove too much in one go. The safest approach is gradual: shave off a tiny sliver, inspect the cut surface, and only proceed if you are well clear of the quick. If your cat grows restless, call it a day and finish the remaining paws tomorrow. Progress is progress.
Helping a Reluctant Cat: Paw Desensitization
Most cats that resist nail trims simply aren’t accustomed to having their feet touched. Take time to build positive paw-handling habits before you ever introduce the clippers:
- Touch the paws: Gently stroke and hold your cat’s paws during calm moments, immediately following up with a treat. Keep these sessions brief.
- Extend the claws: Practice gently pressing the toe pads to extend the claws. Reward them, then let go without clipping.
- Normalize the clipping sound: The Wisconsin Humane Society and the University of Illinois College of Veterinary Medicine both recommend snapping a strand of dry spaghetti near your cat’s paws so they get used to the sharp clicking noise clippers make.
- Trim one nail at a time: Clip a single claw, offer lavish praise and a treat, and let your cat go. Try two claws the next day.
For wiggly cats, a gentle towel wrap (the “cat burrito” method) can keep paws contained and reduce stress. The ASPCA highlights this technique, which lets you expose and trim one leg at a time while keeping the cat feeling secure. However, if your cat shows genuine fear, bites, or scratches aggressively, stop immediately. In those cases, rely on your veterinarian or a fear-free professional groomer.
If you share your home with multiple cats, always trim them separately in a quiet room to avoid unnecessary tension and distractions.
What to Do If You Cut the Quick
Nicking the quick can be alarming, but it happens to almost every pet owner at some point. While the outer claw is composed of insensitive keratin, the quick is living tissue supplied with nerves and blood vessels, meaning a nick will sting and bleed (VCA).
- Stay calm to keep your cat from panicking, and gently wrap the paw in a clean towel or sterile gauze.
- Dip the bleeding tip directly into styptic powder, cornstarch, or flour, applying firm, gentle pressure. Veterinary guidance recommends maintaining continuous pressure for one to two full minutes without lifting your fingers to check, as peeking too soon can dislodge the forming clot.
- Keep your cat calm and resting for a little while, keeping them off light-colored rugs or upholstery until the claw is fully sealed.
Applying steady pressure helps stem the blood flow quickly. If bleeding persists beyond 5 to 10 minutes, contact your veterinarian. You should also check with your vet if the paw becomes swollen or red over the next few days, or if your cat begins limping.
Senior Cats’ Claws Need Special Attention
According to International Cat Care, older cats frequently lose the ability to retract their claws fully, making them prone to snagging on rugs, blankets, and upholstery. Over time, their claws can become thick, brittle, and overgrown, eventually curling around and piercing the paw pad—an agonizing condition that rapidly causes infection. Cats with arthritis also scratch far less often, leaving their claws to grow unchecked.
Inspect your senior cat’s paws on a regular basis, and reach out to your veterinarian if you observe:
- A claw curling toward, touching, or penetrating the paw pad
- Limping, stiffness, or persistent paw licking
- Swelling, redness, bleeding, or discharge around the nail bed
- Excessively thick, brittle, or oddly discolored claws
Severely overgrown claws frequently stem from underlying pain or osteoarthritis. International Cat Care advises having a veterinarian treat ingrown or badly neglected claws to avoid causing further pain or tearing.
Can a Scratching Post Replace Nail Trimming?
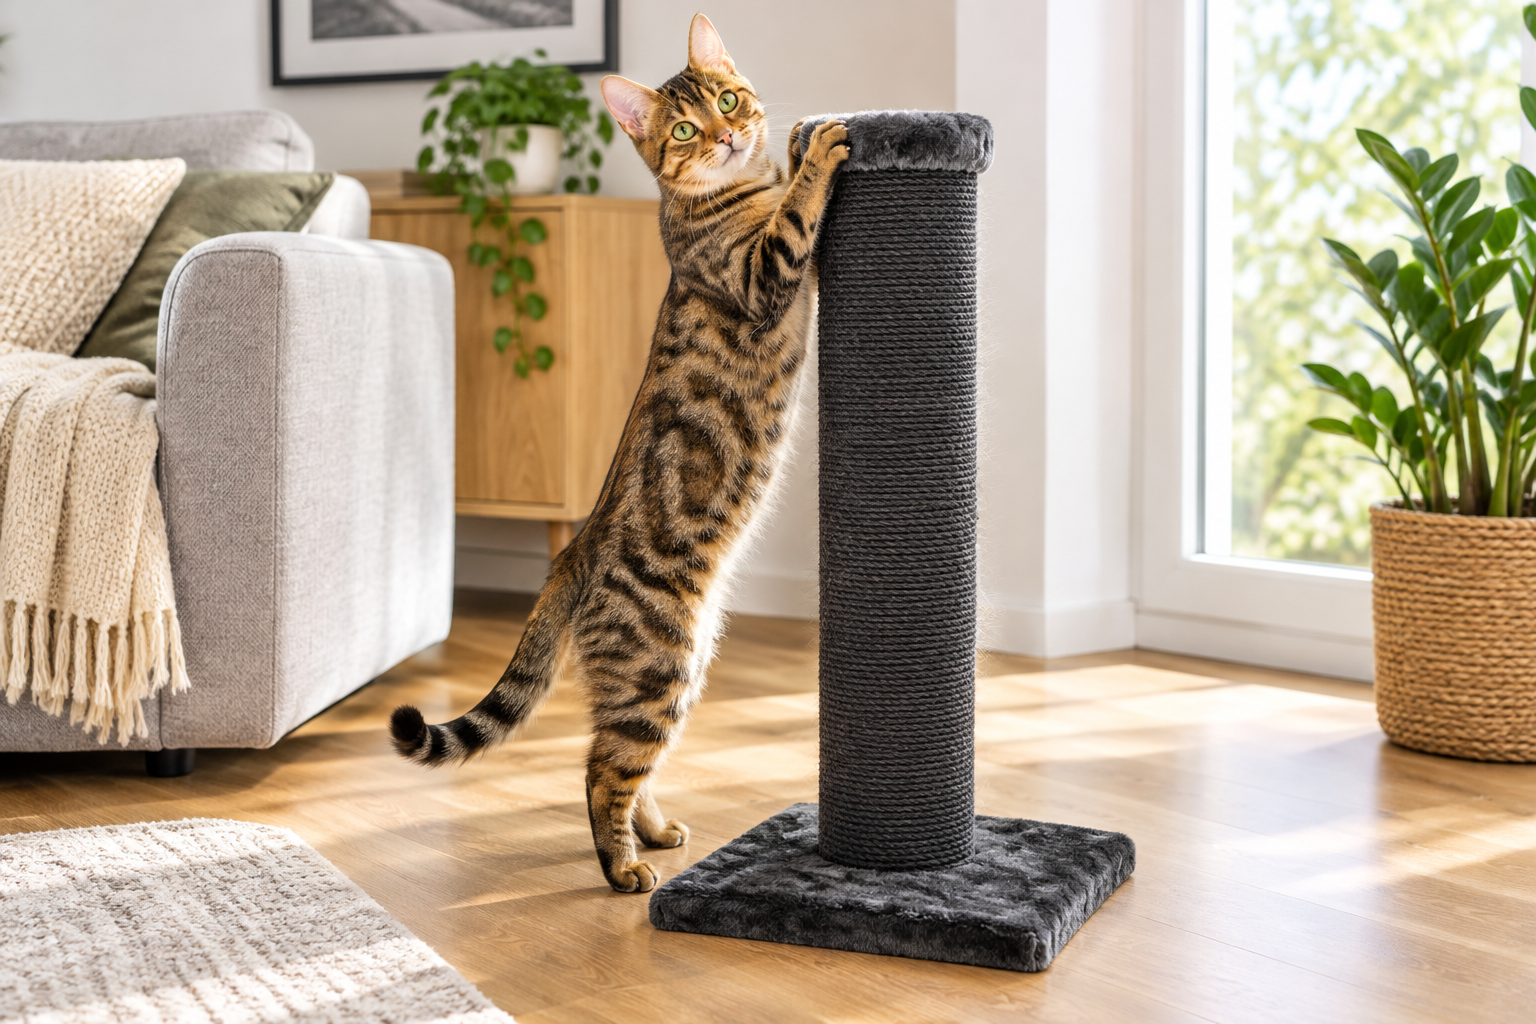
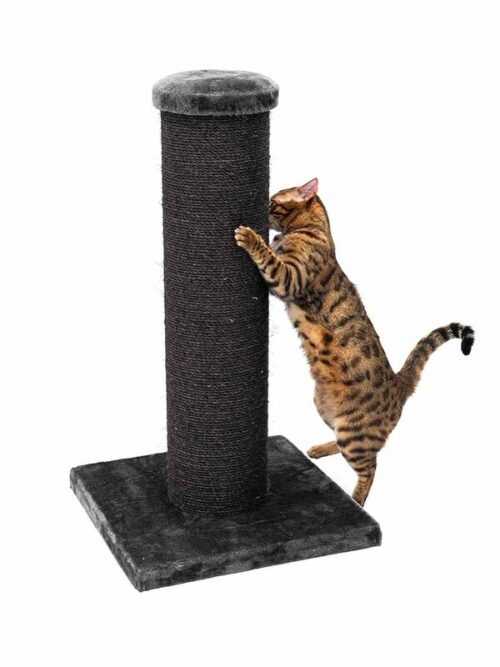
A scratching post cannot completely replace nail trimming, but the two go hand in hand. Scratching is an instinctual behavior cats use to shed the dead outer sheaths of their claws, stretch their muscles, leave visual territorial signals, and deposit scent from interdigital glands (VCA, Cornell University). Trimming blunts the sharpest points to save your skin and furniture, but it does not diminish your cat’s biological urge to scratch (International Cat Care). They need outlets for both.
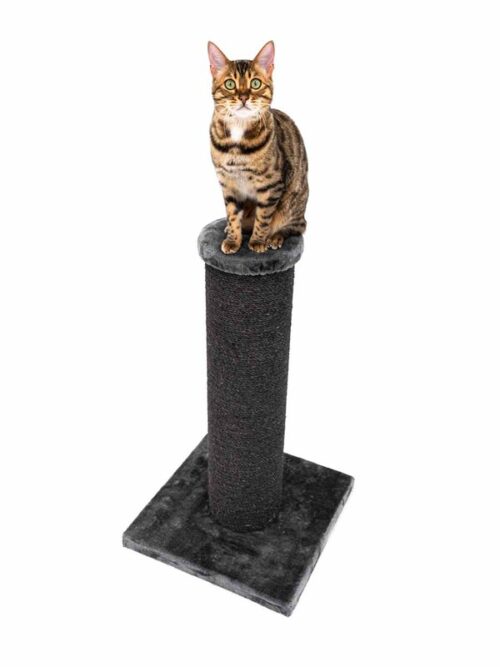
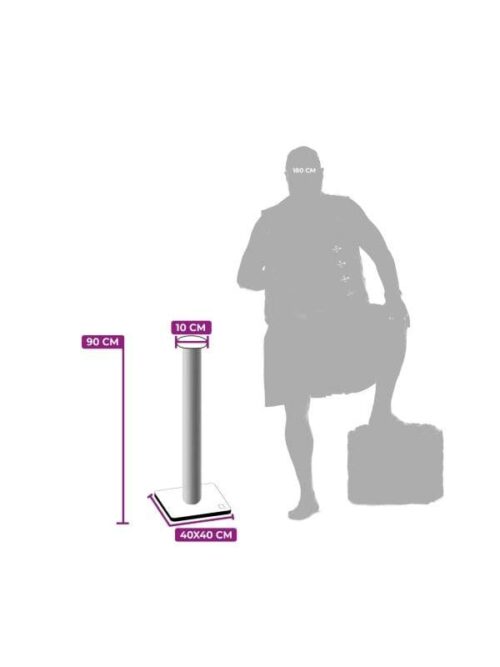
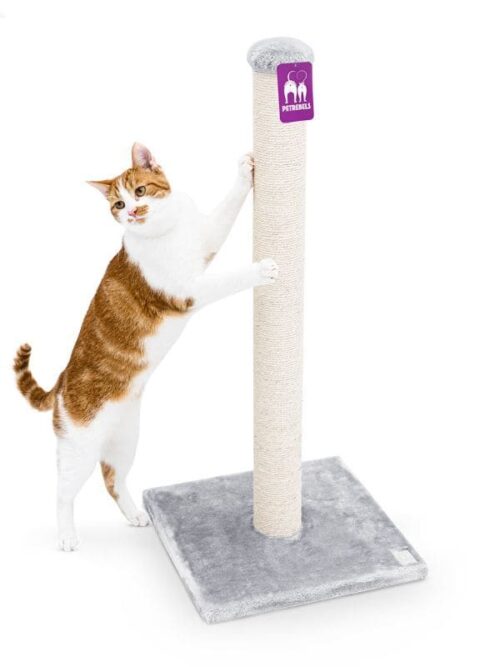
A quality scratching post must be tall enough for your cat to reach upward and stretch out fully on their hind legs, and heavy enough that it won’t wobble or tip over mid-scratch (VCA). The UK feline charity Cats Protection recommends a minimum height of roughly 60 cm for an average adult cat, while the American Association of Feline Practitioners (AAFP) advises a post of at least 3 feet (around 90 cm). Larger breeds will naturally need taller, sturdier models.
For instance, the Petrebels Savannah 86 stands 86 cm high on a solid 50 × 50 cm base with an extra-wide 20 cm post, while the Petrebels Maine 90 reaches 90 cm. Pay attention to how your cat likes to scratch—vertical versus horizontal, sisal rope versus ribbed carpet—and cater to those preferences. If you want an option that combines scratching surfaces with elevated climbing and napping areas, explore our curated selection of Large Cat Trees.
Need assistance picking the right model? Read our guide on How to Choose a Cat Scratching Post. If your cat is ignoring their furniture, find actionable advice in our tutorial on How to Get Your Cat to Use a Scratching Post.
Declawing Is Not a Solution
Declawing should never be treated as an alternative to routine nail care. Under the recitals of EU Regulation 2026/1818 on the welfare of dogs and cats, declawing is formally recognized as an invasive, painful procedure that impairs natural feline behavior; it is banned across the European Union except for strict medical necessities. The regulation applies from August 31, 2028.
Start with One Paw
Start small today: gently stroke one paw, extend a single claw, and hand over a delicious treat. Hold off on clipping until your cat is completely at ease with being handled. With steady patience and plenty of positive reinforcement, nail maintenance will quickly turn into an easy, two-minute task. To keep building healthy home-care habits, explore our guide on Brushing Cat Teeth at Home, and browse MiuMjau’s full selection of cat trees and scratching posts.